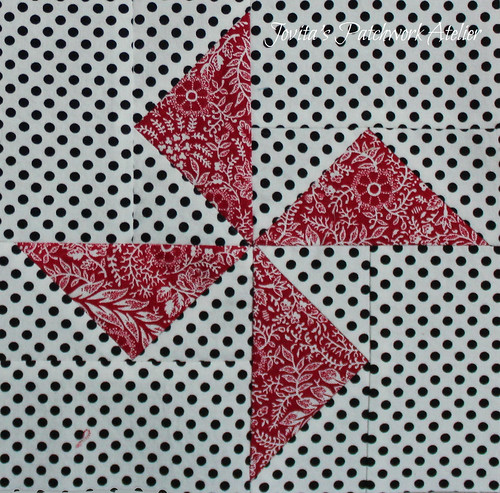
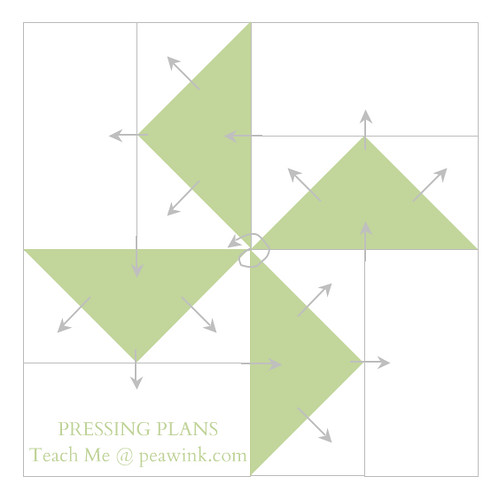
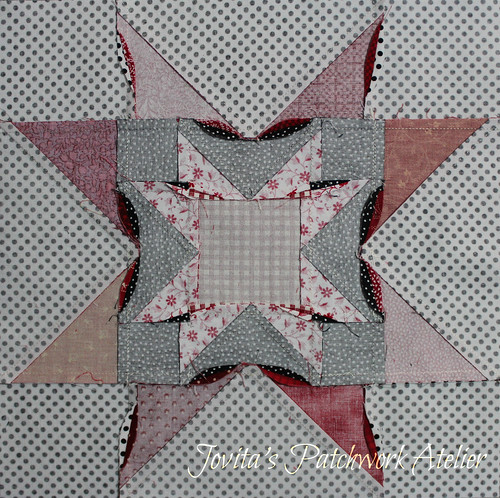
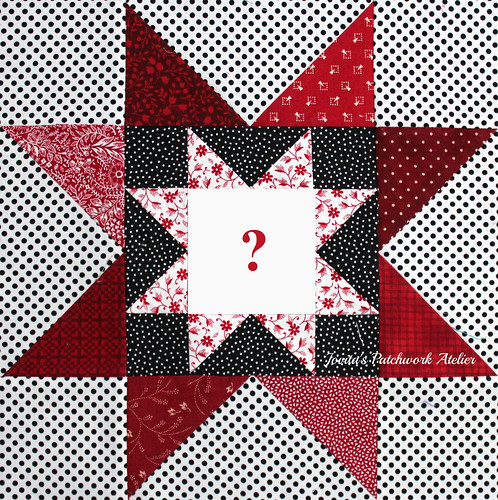
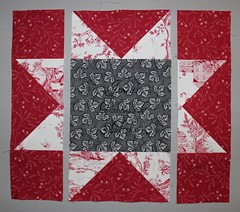
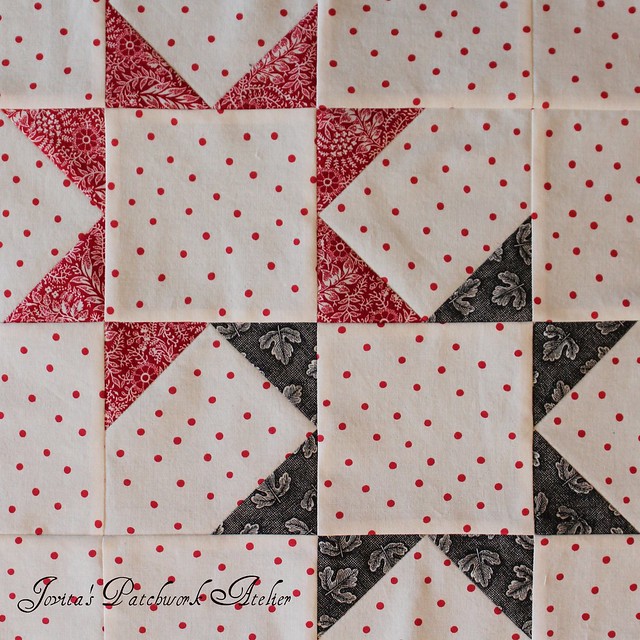
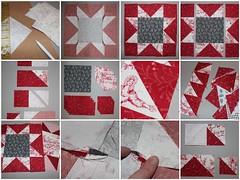
Did you make Part 1 of Block 3? Once you've got that done, you're ready to assemble the pinwheel windmill. Sew one background rectangle to the top of each goose. Then arrange them as you see above. Sew the upper row together, then the bottom row. Finally the two halves together. You'll want to "spin" the center seam to reduce as much bulk as possible. You can find more handy pressing plans here.
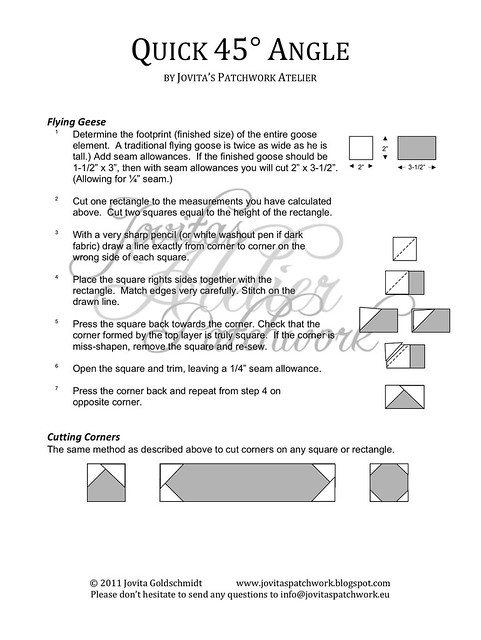
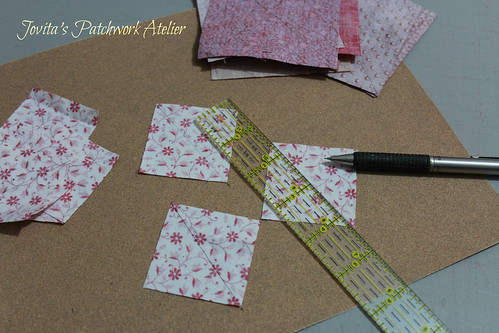
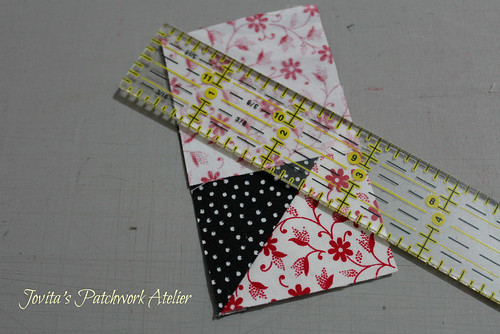
But here's the Twist .. the Spin .. that tutorial you used for no waste flying geese. It made four identical flying geese. But I just needed a little more movement in this block so ... I went back to making geese with the Quick 45° "wasteful" method (for today see block 1 but I'll add that step-by-step tutorial to Teach Me @ peawink.com soon). ~ if you'd rather use the no waste method and do four identical geese for the large star, I'm fine with that. I've given you the cutting measurements below**)
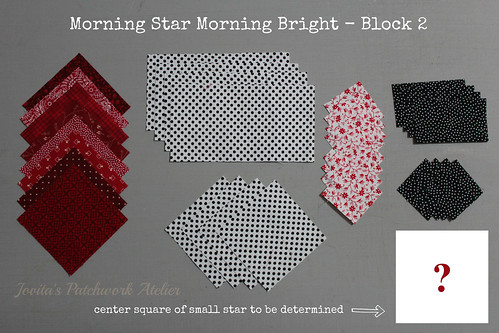
In addition to your Pinwheel Windmill block you will need:
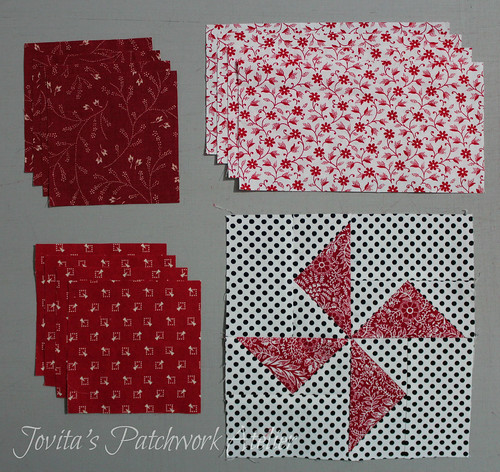 |
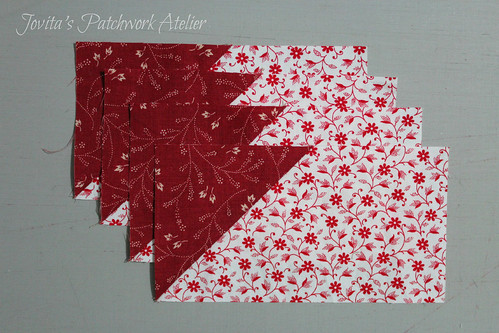
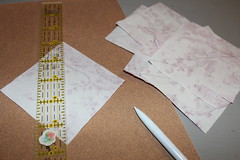
| * there should also be four squares of the sweet little red print in this picture * |
Background: (sweet little red print)
A FOUR 3-1/2" squares
B FOUR 3-1/2" x 6-1/2" rectangles
Star:
C FOUR 3-1/2" squares - dark red
D FOUR 3-1/2" squares - light red
Center:
E ONE 6-1/2" Pinwheel Windmill
Center:
E ONE 6-1/2" Pinwheel Windmill
** If you want to use the no-waste method for the large geese, then cut the following:
Background: (sweet little red print)
A FOUR 3-1/2" squares
B ONE x 6-1/2" square
Star:
C/D EIGHT 3-1/2" squares - any red
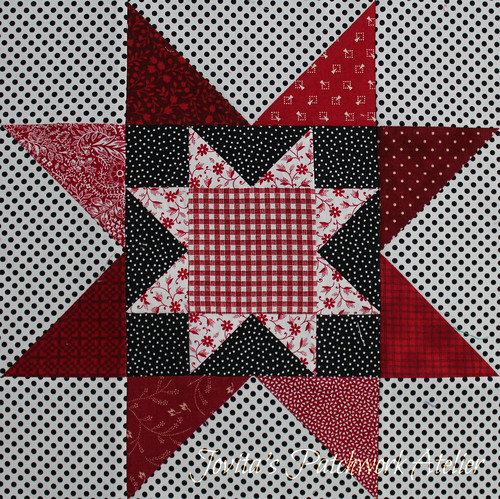
So, now you're basically going to construct this block the same way we did block number 2.
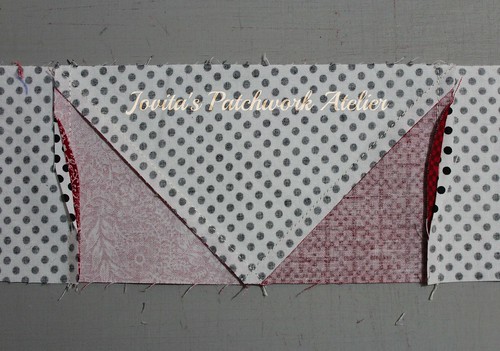
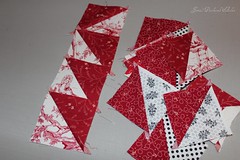
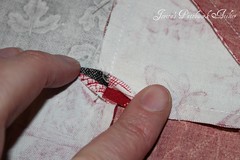
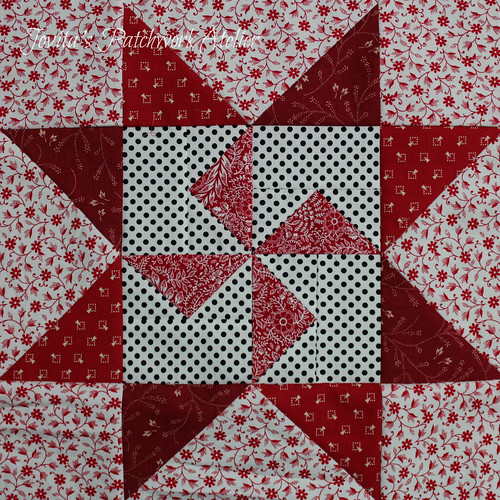 One thing that's difference is the geese ... look closely ... see? The geese have different backgrounds. Half are dark red, half are light red. The trick to this is putting all the dark red squares on the same end of the geese shapes.
Then put the light red triangles on the other end. Sorry, I really thought I had a picture of this ... but ... yeh I don't.
Do you get mad when I do this?
Should I remake & retake or are you doing ok?
Please DO LET ME KNOW?
The construction of this block is then the same as all the other blocks in the series, but if you have questions, please please don't hesitate.
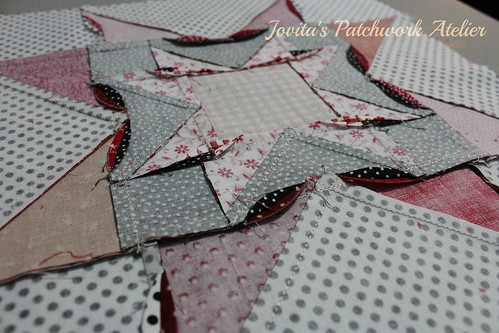


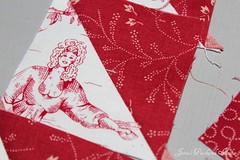


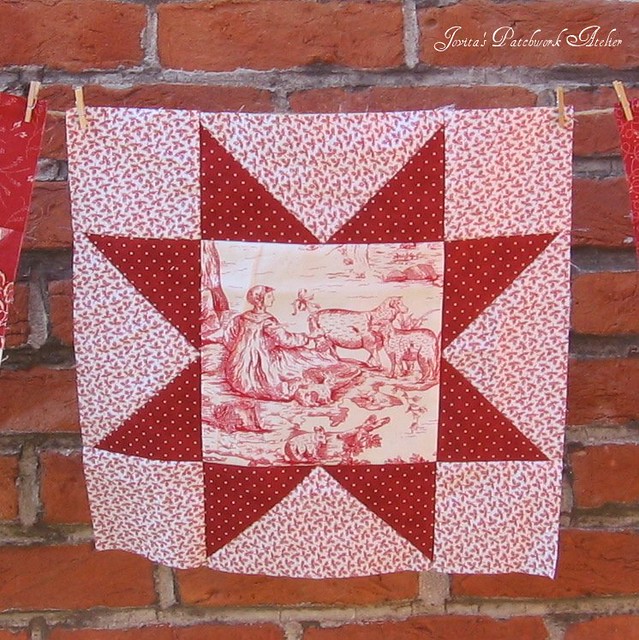
 I did work very hard today on getting the tutorial done for Block One of Morning Star, Morning Bright but not quite hard enough to meet the deadline (ie. my hubby coming home and wanting dinner ... me too - I'm starving!) But I did take a bunch of pictures, so here's a sneak peak and I promise to give you all the details tomorrow.