Showing posts with label pink. Show all posts

Friday, January 31, 2014

Innocent until Proven Guilty

I'm just hoping you'll let me off for good behavior ...

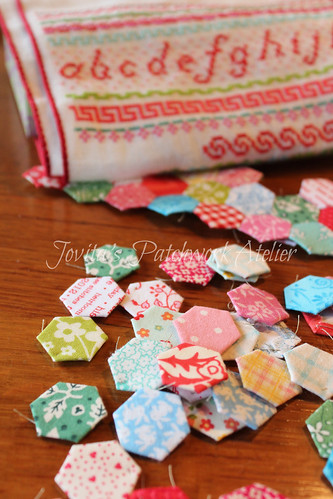
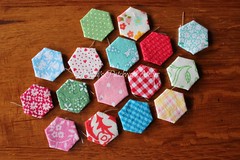
1/2" 'peppermint' hexiesWe've been sick around here. Not really really sick. Just that icky yucky feeling that makes you a tad grumpy, impatient and tired. Just the kind that interrupts naps and sending papa to sleep in the babies room so that when he wakes at 10pm after going down at 7:30 and stays up until 1am momma is right there so that when he wakes at 4 coughing ... well you get the picture right.

So in between wiping noses, drinking lots of *peppermint* tea and doing my best to keep the household running

one innocent project lead to another

It started with this 

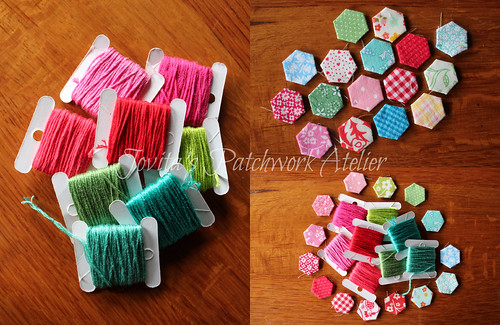
which lead to this and along with all this talk of peppermint
got me to thinking about this
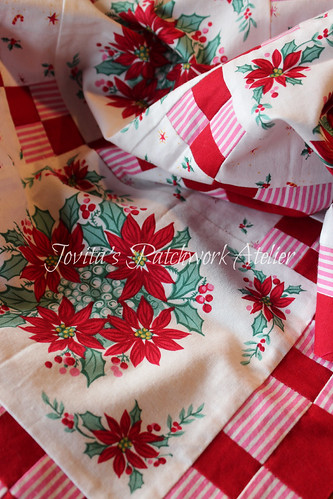
peppermint candy

and this

turq & red

Then this happened

thread-hexies

and then this

innocent

I think I might be guilty ..

.. but after awhile it's just fun to take pictures and dream about hexagons

And think of doing a swap / exchange .. of so many types, things and kinds.

But I think that will have to wait .. until I can find the time between wiping noses and
cups of peppermint tea.

In fact somewhere there is a cup with my name on it. I'm off now to follow the strewn tissues in the hopes it leads me to a mugga easily warmed to enjoy before that little guy is awake again.

Ha, spoke to soon! Off to wipe a nose, plant a kiss, change a (cloth) diaper and conjure up some lunch. Maybe even plan dinner. Or order dinner .. it is Friday after all .. and boy am I glad to see Friday.
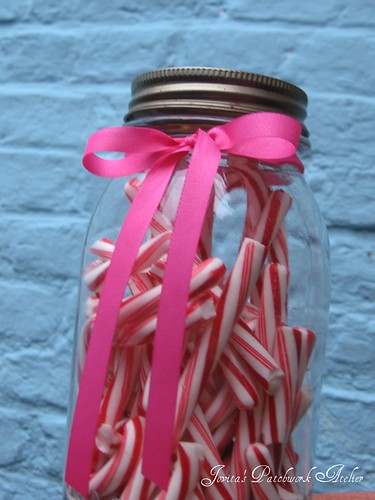
Candy Canes
Disclaimer: In the writing of this blog post, a candy cane or two may have been dropped into a cuppa or two of coffee purely to aid the writer in staying awake and alert while nursing her obsession with peppermint. Did you know they are impossible to find here? You can occasionally get candy canes, in fact they are becoming more frequent during the holiday period. But they are alarmingly not peppermint flavoured. Strawberry, vanilla and even tasteless we have seen, but no peppermint. Not even at Starbucks .. shame on them, right?  Thankfully I've got a few friends and a cousin who send and/or smuggle peppermint candy canes on a random basis. Special enough that they get their own jar with a ribbon tied around it's neck.

Pin It Now!

Monday, February 14, 2011

I ♥ U (aka Got Dots part 2)

Happy Valentine's Day to all of you!  
Keep reading for more about Part 2 of the great GOT DOTS quilt along ... we're sure you'll love these hearts as much as I do.  xox

Community Heart
First I hope you are all having a wonderful day.  I just put dinner in the oven - something new that I'm hoping Axel will enjoy followed by Flowing Chocolate Cake before I head off to a quilting bee.  Yes, don't worry, he's fine with that ... in fact very fine with that.  A quiet evening at home is the best  {heart} gift I could give him tonight.

You see, I kept him awake last night and not for the fun reasons.  More because my tummy was talking to me because we had french fries from the local (literally next door) frituur last night because we had to come up with a quick fence fix because Whisper decided she should start jumping it because there's obviously more fun stuff to do "out there."  So I'm going out, he's staying in and chilling and next week we're going for dinner in Gent.

So ... it's here ... part 2 of the great GOT DOTS quilt along!  It took me a little while to get it all drawn and written up for you ... but yes, indeedy, these Hearts are for you - Happy Valentines Day!

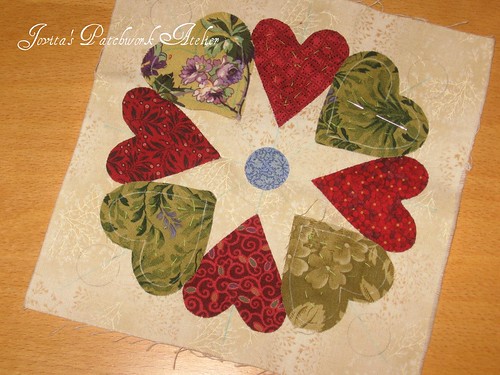
Got Hearts!I really enjoyed appliqueing these hearts and hope you will too.  I found it was easiest to applique every other heart (either the big ones or the little ones) and then fill in between with the other size.

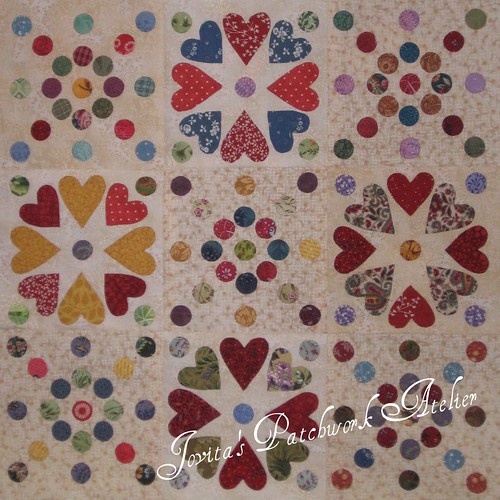
Here's an idea of what your quilt could look like if you did just the Dots and the Hearts blocks ... but don't forget - the Bowls block templates will be coming in April in time for Easter.
DOTSx9
I've also added a new page to my blog ... now you can link up to the great GOT DOTS quilt along.

You can download the templates and info here or here.  Or you can browse through it here below.


! ! ! H a P p Y   H a P p Y   H e A r T ~ D a Y ! ! !

x ~ o ~ x
Jovita

to all my European friends who are unfamiliar with this ... 
x = kiss & o = hug


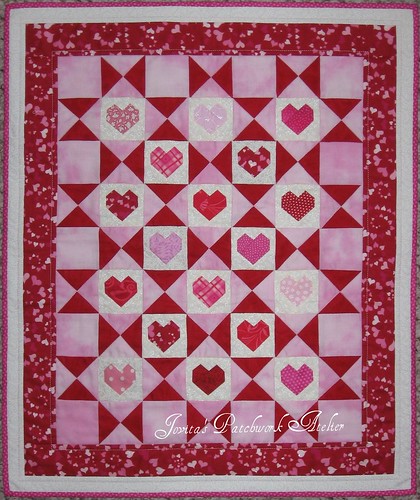
p.s.  If you want to know more about the quilt featured at the top ... it's a mini(? - 18" x 22") I made a few years ago .. if you'd like the pattern let me know and I'll add it to the blog - it was a lot of fun to make!

Pin It Now!

Sunday, January 16, 2011

I Made a Mini for Me

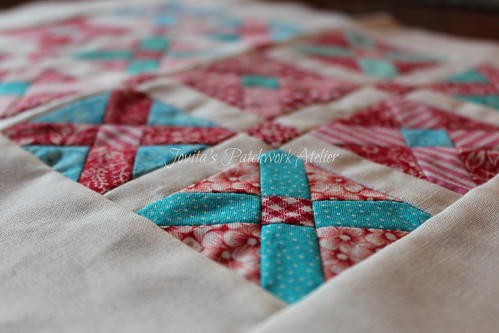
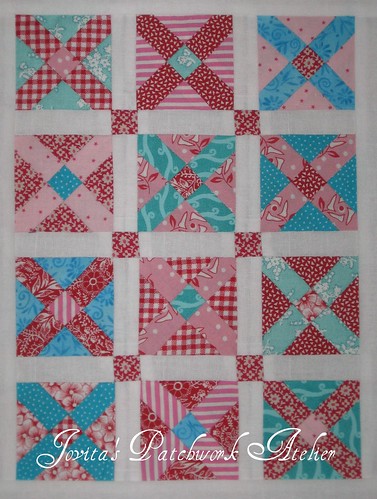
CrossroadsI spent this week tackling one bear of an unfinished project and felt like I was entitled to do something fun for myself.  I figured it'd take me a couple of days, a bit of sewing here and there.  But color me surprised ... from cutting out to the border only took me about 4 hours!

It all started while I was reviewing Quilting Gallery's 2011 list of BOMs, Quilt Alongs and Challenges which included a mini-quilt tutorial by Terrie Sandelin of Bits and Pieces.  Well, after the mini quilt swap that Liz and I just did I absolutely had to go check it out.


Civil War Crossing Quilt Tutorial
by Terrie Sandelin of Bits and Pieces
Terrie's four-part tutorial was fantastic and uses the methods in her book Miniatures in Minutes and a super simple cutting method by Anita Grossman Solomon.

Here are the steps I followed and comments where I might have done things a little different than Terrie.
  • For the twelve blocks I chose twelve, four each of three colors: Turquoise, Red and Pink
  • I followed Terrie's cutting instructions and cut twelve 4-1/4" squares (one from each fabric).  Instead of using the diagonal lines on a mat, I used a 1" wide ruler I centered it corner to corner on the square and cut along each side.

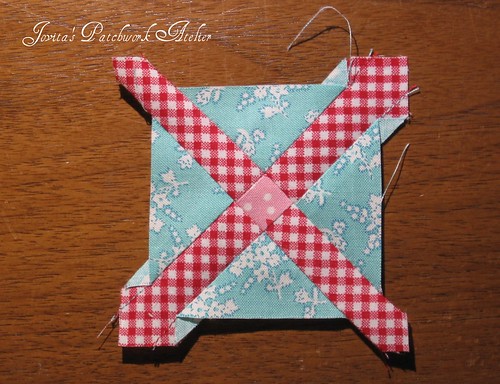
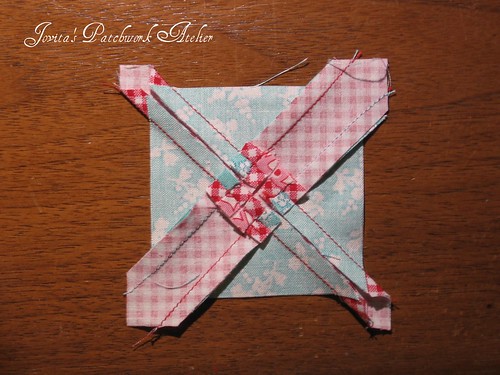
  • I did not foundation piece the blocks like Terrie did - I pieced them like any old patchwork with a scant 1/4" seam.  This did mean that all my seams were on the bias, but I sewed and pressed carefully and did not have any problems.   Here's a couple of pics of what my blocks looked like after they were sewn.
    FYI - I've added two links to tutorials for foundation piecing.
    Crossroads block before trimCrossroads block before trim (back)
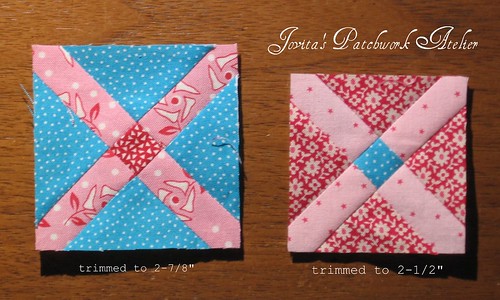
  • Crossroads blocks trimmedOnce my blocks were pieced I could have trimmed them to 2-7/8" squares so they would have finished at 2-3/8" but Terrie's finished at 2" and I wanted a small quilt so I went ahead and trimmed them down to 2-1/2" (I am going to check if 4" squares would have been big enough).


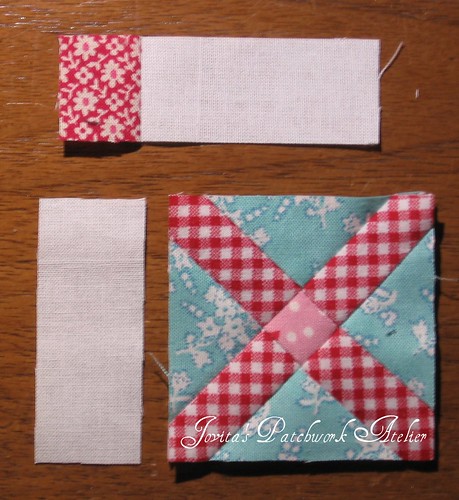
  • Adding sashing to CrossroadsTerrie and I add our sashings differently.  Regardless of whether I'm sewing a large quilt or a mini I always add my sashings to each individual block. First one side strip and then another strip that already has the cornerstone attached.
  • I left off the last row of sashing and cornerstones all the way around before adding a wide border (it doesn't show well in my pic) - the same white as my sashing.
  • I also put my side borders on before adding the top and bottom.


    Needless to say, I am totally jazzed about having a finish for me!  For now it's pinned to the wall with this other turquoise and red lovely while I decide how to quilt it. And now I can get back to work ... it looks like another busy week ahead.

    Happy stitching to you all ... and go check out Terrie's blog!  xox Jovita
  • Pin It Now!
    Related Posts Plugin for WordPress, Blogger...