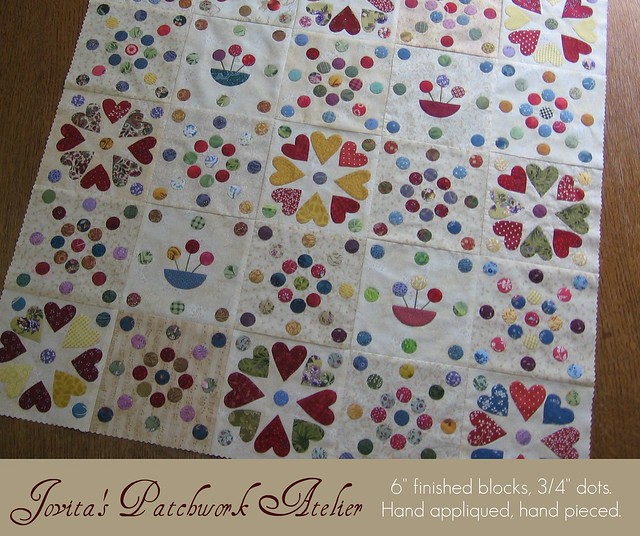
WHAT is reverse Applique?
The term reverse applique applies when the desired shape is cut out of the upper layer of fabric and appliqued along the inner edge of this "hole" to reveal the fabric below.
HOW IS IT DIFFERENT from "normal" Applique?
The easiest way for me to paraphrase this is ...
- "normal" applique is stitched
- counter-clockwise around the
- outside of the shape which sits
- on top of the background.
- reverse applique is stitched
- clock-wise around the
- inside of the shape which sits
- beneath the background.
If you are left-handed ... "normal" applique is stitched clock-wise and reverse applique is stitched counter-clockwise.Here's a quick photo-cap:
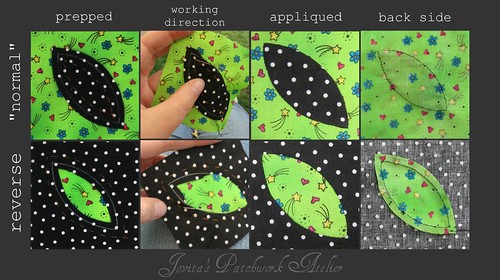
Down-load a printer friendly version of this picture tutorial here.
WHY do reverse Applique?
 One reason for doing reverse applique instead of "normal" is that the background fabric would show through ... for example if you were appliquing a white snowman or ghost onto a darker background. You would get what is called "shadowing" or "ghosting" around the inside edge of the applique shape. So you could applique the lighter object behind (in reverse) your background.
Before I decided that my black fabric should be on top, I checked if there would be a problem. See that black showing through in the top picture? Well that means that if I had appliqued a green melon shape on top of the black, you'd not only see a green ghost (in the seam allowance) but also the black showing through the middle. I could have avoided the black in the middle if I cut my background out from my applique but I *almost* never do that.
Of course there are other practical, dimensional and even fun reasons for doing reverse applique.
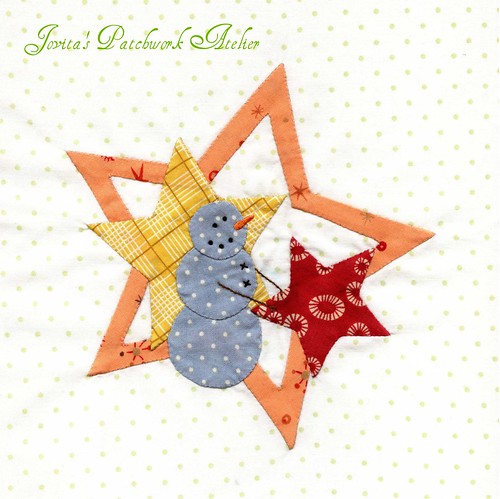
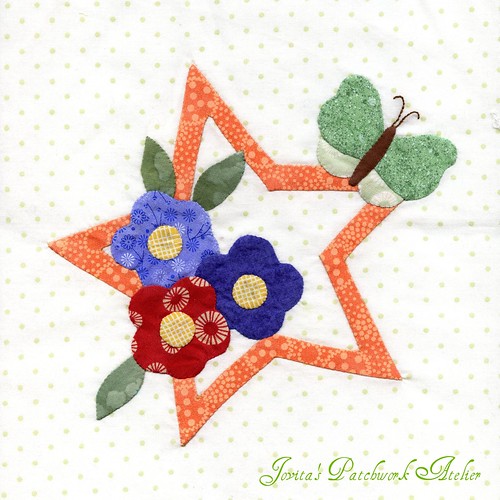
For example when you want to add detail without adding another layer on top. In both cases here the detail in the rose, leaves and star are created using reverse applique.


For my "boy" version of Bunnyhill Designs basket BOM, I am appliqueing a star first and then adding the elements of each month's theme on top. The outside edge of the star is of course "normal" applique, the inside is done using reverse applique.
So, I'm sure you have more questions, so feel free to ask away and I'll do my best to answer them whether it's more about applique or anything else you're curious about.
Happy stitching! Jovita Pin It Now!